Showing posts with label In the Kitchen. Show all posts

Friday, March 28, 2014

Why We Choose to Eat Butter Instead of Margarine


Vs.  

 So my mom has always been a firm believer that we should eat actual butter instead of margarine. She's always jokingly called margarine 'Melted Plastic'. It's been a few years now since we stopped buying margarine. About a year ago, we found an article telling the differences in the 2 products. What we found completely disgusted us and scared us!!
So even though Margarine and Butter have about the same amount of calories, Margarine has the following issues:
  • Is very high in trans-fatty acids.
  • Triples the risk of coronary heart disease.
  • Increases total cholesterol and LDL (the bad cholesterol), and lowers HDL cholesterol (the good cholesterol).
  • Increases the risk of cancers up to fivefold.
  • Lowers the quality of breast milk.
  • Decreases the immune response.
  • Decreases the insulin response.


  • Would you like to know how Margarine was invented?
    "Did you know that the hydrogenated fat they use in fast food restaurants in the deep-fat fryers was originally designed as candle wax?  When it didn't work as planned, they looked for a new use for
    it, and found it worked great for frying foods and never going bad.

    Margarine was originally manufactured to fatten turkeys.  When it killed the turkeys, the people who had put all the money into the research wanted a payback, so they put their heads together to figure out what to do with this product to get their money back.
    It was a white substance with no food appeal, so they added the yellow coloring and sold it to people to use in place of butter.  More recently, they have come out with some clever new flavorings."

    Oh, yes, and there's one other thing I might want to mention: Margarine is only ONE molecule away from being plastic!!!!!! So turns out Momma has been right all these years-margarine really is basically melted plastic. :-)
    You should do this little experiment for yourself:

    -Purchase a tub of margarine and leave it in your garage or a shaded area. Within a couple of days, you will note a couple of things:

    -No flies, not even those pesky fruit flies, will go near it.  (That should tell you something.)  It will not rot or smell differently, because it has NO nutritional value.  Nothing will grow on it.  Even tiny microorganisms will not a find a home to grow on.  Why?  Because margarine is nearly plastic.

    Would you melt a plastic bowl and spread THAT on your pancakes??

    So after you finish reading this post, you may have learned a little more about your margarine that's in your fridge than you would have liked to know. Now what will you do with this knowledge to save your family??

    Pass the butter please!!!!!!!!!

    Saturday, February 15, 2014

    Homemade Chicken and Noodles

    Yes, I am well aware that my last post was about our healthy kick, and homemade noodles doesn't exactly fit into the 'healthy' category. But we made these here while back, and I forgot to post.
    A couple years back, Momma started making homemade Chicken and Noodles. It is one of Daddy's favorite meals ever-he would eat them every day if he had the chance. I'm not a soup fan, but if I'm going to each chicken and noodles, I'd much rather have these homemade ones. People think homemade noodles are difficult, but they really aren't that bad. And the taste is well worth the effort!!

    Here's what to do:
    Boil 2 bone-in chicken breasts with:
    1/2 onion, chopped
    salt
    pepper
    carrots or celery (optional)

    Once your chicken is done, turn your stove off for the time being. You will need to de-bone it by pulling all of the chicken away from the bones with your fingers. Now you are ready to make your noodles.

     Get out a large cutting board (or if you prefer, you can do this in a bowl) and measure out 2 cups of flour. Also a sprinkle of salt, pepper, and a little garlic. Take your fist and make an impression in the middle of your pile of dry ingredients.

     
    Now place your 2 egg into the indention that you created.
     
     
    Now slowly mix with your hands until all ingredients are well combined (this is going to be a bit messy). If your mixture is too moist, add more flour. If it is too dry, add a small amount of water.
    When you have your dough to the correct consistency, move your ball of dough to the side. Remove any remainder of dough you have on your board.

     Then well flour the cutting board. Now roll out your dough. It needs to be very very thin, because as they boil, they will plump up.
     
    Now you can use a pizza cutter to cut the noodles to the width you would like. As you cut them, reflour them and place in a pile to the side.

    Now is the time to put bring your broth back to a boil. Add your chicken. As soon as the water is at a rolling boil, add in your noodles. They will literally need only a couple of minutes. As soon as they begin to float, they are finished. Now turn down the heat to Low to keep warm.


    Serve and enjoy!!

    Healthy Kick

    So my sister and I have been on a little diet. We each have our own different weaknesses, so we've been working on holding each other accountable. Some of the things we've been cutting back on:
    I hardly ever eat anything for breakfast, which I know is not healthy. So, in the morning, I've been getting up and fixing us each a smoothie for breakfast. Then sometimes we might eat a piece of sausage with it to give it some protein. Some ingredients I use for our smoothies are: brown cow yogurt, whatever frozen fruit we have (strawberries, pineapple, peaches, blueberries, etc.), honey (or even some flavored honey we have), sometimes a splash of milk, and some ice cubes. The other day, we had some organic spinach that I put in one to add a little extra protein. It didn't look pretty, but it tasted yummy.
    This is one I tried with some peanut butter. It didn't look that pretty, but
    the taste wasn't that bad. Next time, I wouldn't add quite as much peanut
    butter as I did.


     I also made some healthy Banana Crunch Muffins the other day. A friend brought them to church and shared the recipe. They are super good. Here is the recipe. This is actually a revised version of the original. The original actually called for things such as twice the amount of sugar and butter instead of the oil.

    Banana Crunch Muffins

    3 Cups Flour (I use unbleached)
    1 Cup Sugar (I use Evaporated Cane Juice)
    2 tsp. Baking Powder
    1 tsp. Baking Soda
    1 tsp. Salt
    2 eggs, lightly beaten
    3/4 Cup Milk
    2 tsp. Vanilla
    1 Cup Melted Coconut Oil, cooled
    3 Mashed Bananas
    1 Cup Oats (I use Old Fashion Rolled)
    1 Cup Chopped Nuts (I use pecans)

    Preheat oven to 350 degrees. Line 24 muffin cups. In a bowl, mix the flour, sugar, powder, soda, and salt. Mix in the eggs, milk, vanilla, and oil. Fold in bananas, oats, and nuts. Fill muffin cups most the way full. Bake for 25 min or until toothpick inserted comes out clean.

    I will say that besides us loosing a few pounds, I definitely have felt better since watching what I eat more. We haven't taken it to the extreme, but just watching more our portions and ingredients has helped. We've also been trying to be better about our water in-take. She likes pop and I like sweet tea. We have made a commitment to have one only once a week.

    Feel free to share your healthy recipes
     

    Monday, December 23, 2013

    Christmas Cookies

    So with the Christmas season, comes lots and lots of baking. I always love trying new recipes, so this is one of my newest recipe experiments, and... these are amazing!! They taste like a Reese's peanut butter cup cookie. They are super easy to make, and are great to take to your Christmas party or dinner.


    *Recipe modification: I make the balls of dough and filling half the size that is says. When I did it the size it said, it just made them massive. Doing them smaller, you can get twice the amount of cookies. :-) 
     
    Chocolate Dough
    1 1/2 cups all-purpose flour
    1/2 cup unsweetened cocoa powder
    1/2 teaspoon baking soda
    1/4 teaspoon salt
    1/2 cup granulated sugar (plus extra for dredging)
    1/2 cup brown sugar
    1/2 cup (1 stick) butter, softened
    1/4 cup smooth peanut butter
    1 teaspoon vanilla extract
    1 large egg plus 1 large egg yolk
    Peanut butter filling
    3/4 cup peanut butter, crunchy or smooth, your choice
    3/4 cup confectioners’ sugar
    Preheat the oven to 375°F. Lightly grease (or line with parchment) two baking sheets.
    To make the dough: In a medium-sized bowl, whisk together the flour, cocoa, baking soda and salt.  In another medium-sized mixing bowl, beat together the sugars, butter, and peanut butter until light and fluffy. Add the vanilla and the egg, beating to combine, then stir in the dry ingredients, blending well.
    To make the filling: In a small bowl, stir together the peanut butter and confectioners sugar until smooth.  With floured hands or a teaspoon scoop, roll the filling into 26 one-inch balls.
    To shape the cookies: Scoop 1 tablespoon of the dough (a lump about the size of a walnut), make an indentation in the center with your finger and place one of the peanut butter balls into the indentation.
    Bring the cookie dough up and over the filling, pressing the edges together cover the center; roll the cookie in the palms of your hand to smooth it out. Repeat with the remaining dough and filling. Roll each rounded cookie in granulated sugar, and place on the prepared baking sheets, leaving about 2 inches between cookies. Grease the bottom of a drinking glass, and use it to flatten each cookie to about 1/2-inch thick. Bake the cookies for 7 to 9 minutes, or until they’re set and you can smell chocolate. Remove them from the oven, and cool on a rack.

    Recipe courtesy of  http://www.sixsistersstuff.com
     
    *Recipe modification: I make the balls of dough and filling half the size that is says. When I did it the size it said, it just made them massive. Doing them smaller, you can get twice the amount of cookies. :-)
     

    Sunday, December 15, 2013

    Christmas Baking Ease


    So just recently my sister and I threw a baby shower for a very dear friend. The theme was Beatrix Potter, so we made iced sugar cookies shaped as carrots and put them in a cup full of cookie crumbs (to look like dirt). They turned out adorable! Anyway, back to my point. It was fun making them and all, but we had to bake and ice 160 carrot cookies!! Not exactly something that can easily be done in one day. So, we ended up baking them and layered them in a box with wax paper in between and stuck them in the freezer (uniced). Then the day before the shower, we pulled them out to thaw and then promptly spent 3 hours icing them. But, the point is, being able to freeze the baked cookies made life so much easier!
    This tip comes in handy even more so during this busy holiday season. Sometimes we make up our fruit bread and freeze it as well. That way you could have all of your baking done way ahead of time. Day of your celebration, just pull it all out to let it thaw and your ready to go. Your guests will think you've been slaving all morning before their arrival. This is such a time-saving tip that will make your life so much easier!!!

    Wednesday, October 16, 2013

    I Love Fall!!!!


    I decided to do a photo shoot with my puppies. And I'm pretty sure they did not enjoy it near as much as I did haha.
    Fall is absolutely my most favorite time of year. It means pumpkins, orange everything, pumpkin pie spice, pumpkin Frappuccinos and cappuccinos, wonderful smells of caramel, and getting out your warm fall clothes. Life couldn't get any better than that.


    Well we went to a friends house the other night for dinner. Everyone was supposed to bring their favorite type of lasagna. Since lasagna is one of my foods I don't care for at all, I decided to make a dessert Pumpkin Pie Lasagna. Let me tell you what, it was AMAZING!! Here's the recipe, you must try it.
    Wednesday, August 21, 2013

    Y'all Eat Yet?

    Our family has recently discovered a guy named Johnny Nix, host of Campfire CafĂ©  on RFDTV. Now, I will preface this post with saying that I am not a fan of watching TV, I have been very convicted lately about not spending time in front of the screen. However, this guy really knows everything you  need to know about cooking over a campfire, and the show is completely clean.
    Recently, I found a book at the local library with tons of recipes by him. I recommend everyone check out his website, he is a very knowledgeable man. It surprised me all the different things you can easily cook with just a Dutch oven and a few hot coals.

    Wednesday, February 20, 2013

    Homemade Cinnamon Rolls

    I made some yummy cinnamon rolls the other day (recipe courtesy of the West Ladies of Homestead Blessings). I highly reccomend you try this recipe :)  In case you don't have their recipe, you can  view it below. I would love if you all would comment with your favorite recipe from the West Ladies. :)

     Mix 2 cups of flour with 2 Tbsp of yeast
     
    Heat the water, oil, milk, honey, and salt until very warm

     Pour liquid mixture into flour mixture and beat well
     
    Start adding the rest of the flour until dough is soft.
    I mixed with a whisk mostly, then used my hands when the 'stickiness' was gone.

    Knead briefly then let rest for 10min.
    
     
     Melt the stick of butter, remove from heat. Stir in 1-1/12 cup brown sugar until it becomes a spreadable texture

     
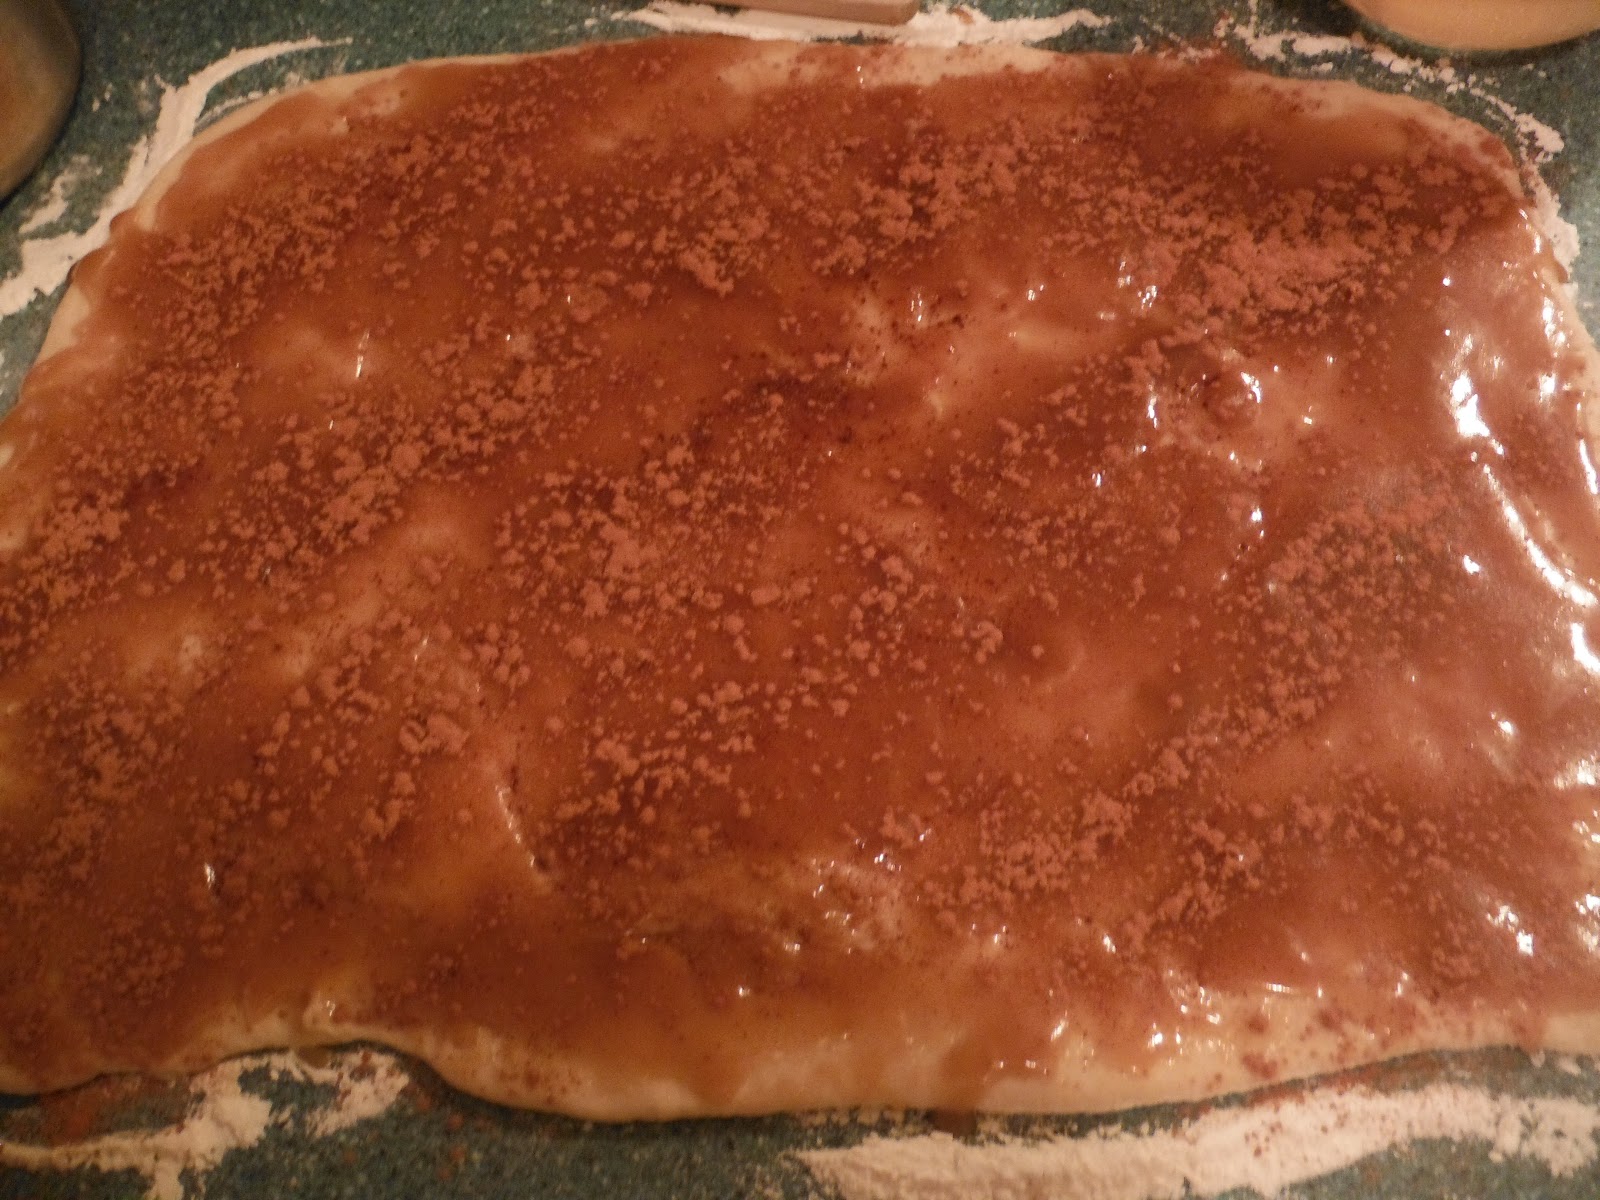
    Roll dough into a flat rectangle 
     
    Brush on brown sugar/melted butter mixture. Sprinkle with cinnamon
     
    Roll dough. Pinch edges to help keep it together. You can cut it with a piece of thread. Take the thread and slide it under the roll. Then cross it and pull. Squeeze them in your pan and bake at 400degrees for 12-15min. Brush with butter...
     
    ...sprinkle with powdered sugar, and eat up!! (sorry the color is a little off in the pics. My kitchen has bad lighting :s)


    Ingredients:
    4-5 cups flour
    2 Tbsp yeast
    1 cup milk
    3/4 cup water
    1/2 cup vegetable oil
    3 Tbsp honey
    1 tsp. salt
    1 stick butter
    1-1/2 cup brown sugar

    Wednesday, October 24, 2012

    Scrumptious Pumpkin Cookies

    Oh my, how I do love fall! I want to share this recipe that I received from a friend. If you are in a fall mood, you are sure to enjoy these yummy cookies. They are so so simple. :D

    Here is what you'll need:

    2 Cups All-Purpose Flour
    1 Cup Crisco (or whatever off brand shortening you prefer. We get ours at Aldi :) )
    1 Cup Canned Pumpkin (NOT pie filling)
    1 Cup Granulated Sugar
    1 Egg
    1 teaspoon Baking Soda
    1 teaspoon Cinnamon
    1/2 teaspoon Salt


    It calls for frosting, but I prefer my cookies unfrosted. However, here are the ingredients for the frosting if you please:

    1 Pound Powdered Sugar (usually 1 bag)
    1 8oz Package Regular Cream Cheese
    1 Stick Salted Butter
    1 Tablespoon Vanilla Extract

    Ok, you ready? Let's get started.
    P.S. Preheat your oven to 375°


    First, put on your favorite apron (I used Momma's :D)


    Cream the Crisco, pumpkin, and sugar.
     
     
    Add the egg and mix well
     
     
    Now add the flour, baking soda, cinnamon, and salt. Mix well
     
     
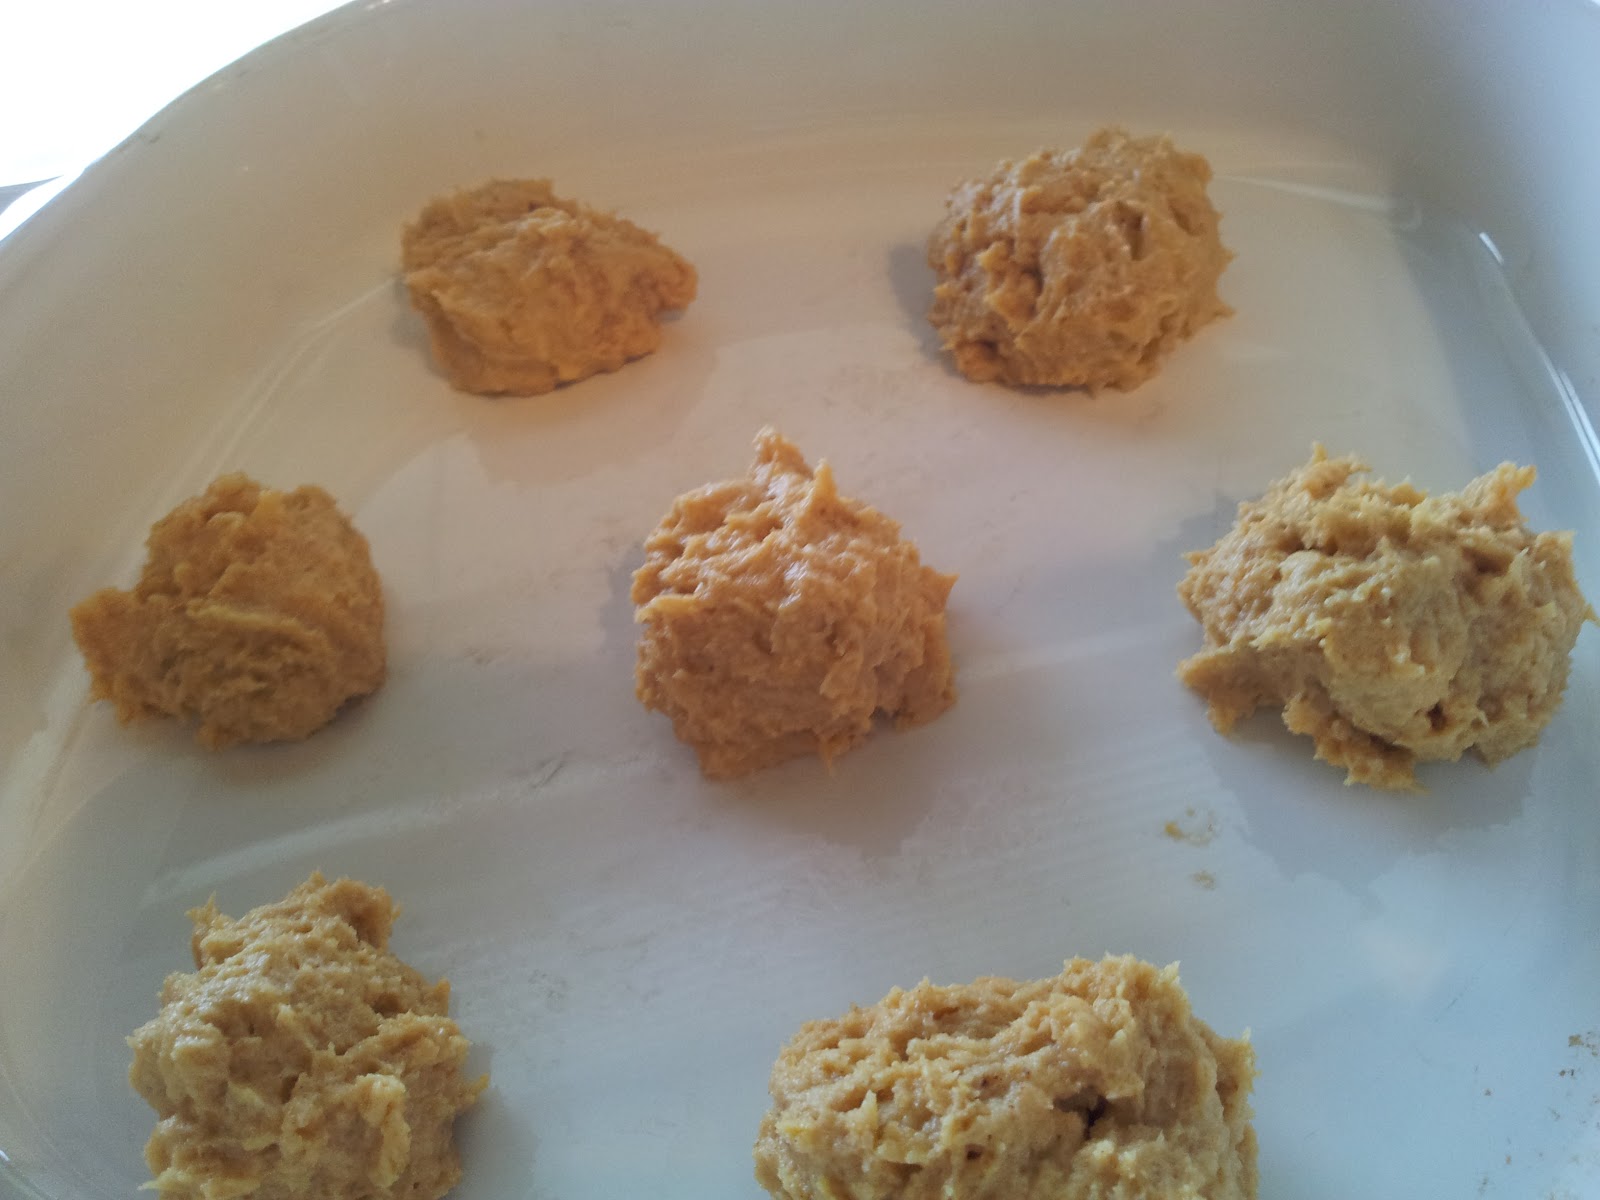
    Now just use a fork to grab medium size lumps of dough and plop em' on an UNGREASED cookie sheet. (I had to use a small pan because all we have at the time is a little convection oven. Our big oven is broken :(  )
    Bake for 10-15min.
     
     
    Place on a wire rack to cool
     
     
    Enjoy


    ~Erin


    Friday, August 3, 2012

    Refrigerator Dill Pickles

    Our friends went out of town and they let us pick out of their garden while they were gone. We had more tomatoes and cucumbers than we knew what to do with, so we got a little creative. We decided to make refrigerator dill pickles-yumm.


    Step 1:
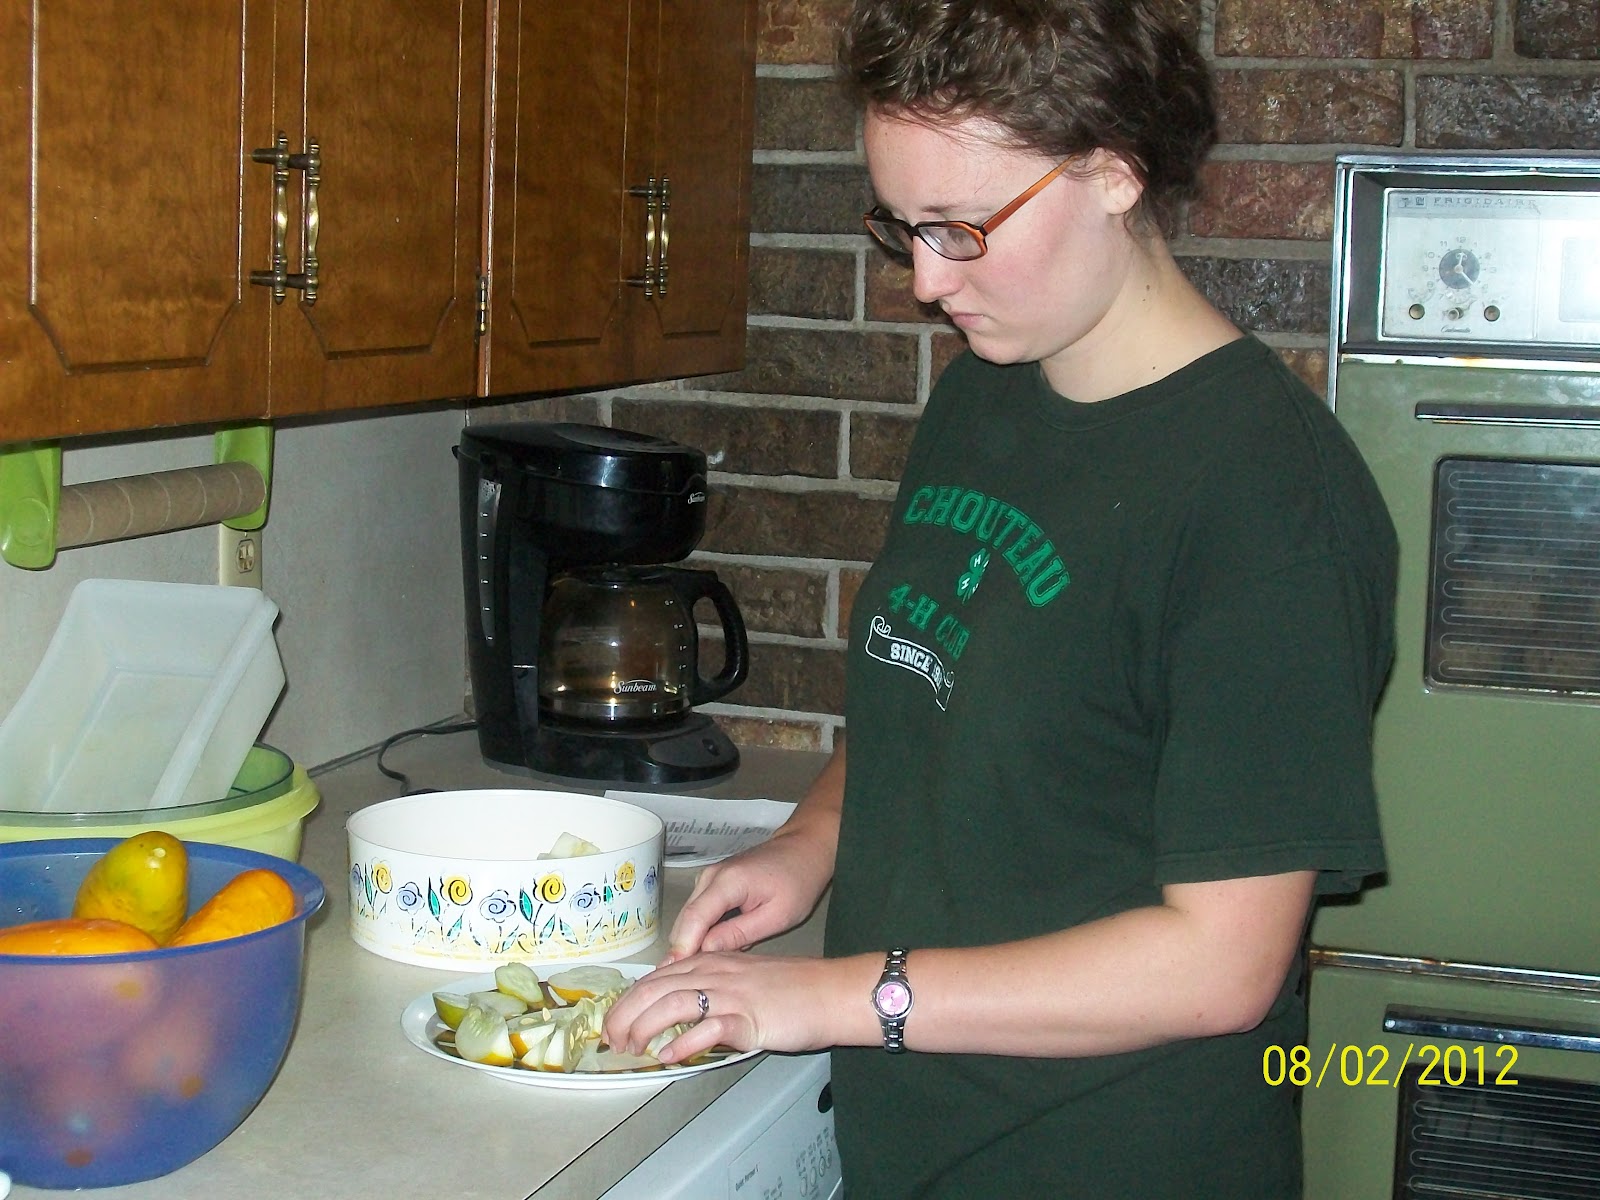
    Clean cucumbers and slice into spears


    Step 2: Place the spears in the bowl along with the onions, dill, and garlic; set aside


    Step 3: Combine remaining ingredients (water, vinegar, sugar, and salt) in a large pot and bring to a boil until salt is dissolved


    Step 4:  Place cucumbers in jars and pour boiling mixture over cucumber mix, cool.
    (sorry the picture is sideways, blogger won't let me change it). Cover tightly and refrigerate for atleast 24hours. Store in refrigerator for up to 2 months. Yield: 100 pickle spears


    Step 5: EAT UP :D


    Ingredients:
    6-8 pounds pickling cucumbers
    40 fresh dill sprigs
    2 large onions, thinly sliced
    5 garlic cloves, sliced
    1 quart water
    1 quart white vinegar
    3/4 cup sugar
     1/2 cup canning salt